This Chocolate Orange Layer Cake is the ultimate showstopper for any celebration, blending deep, decadent cocoa notes with the bright, zesty punch of citrus. If you have been searching for a dessert that looks like it walked out of a high-end bakery but tastes like home-cooked comfort, this tall, three-layer masterpiece is your answer. The contrast between the dark chocolate sponge and the vibrant orange frosting creates a visual and flavor profile that is truly unmatched.
Pinterest lovers, get your boards ready. Between the glossy chocolate ganache drip and the rustic semi-naked frosting, this cake is designed to be the star of your feed. Much like my popular Carrot Cake Loaf, this recipe prioritizes moisture and texture above all else. Whether you are a seasoned baker or a beginner, our step-by-step guide ensures a perfect result every single time.
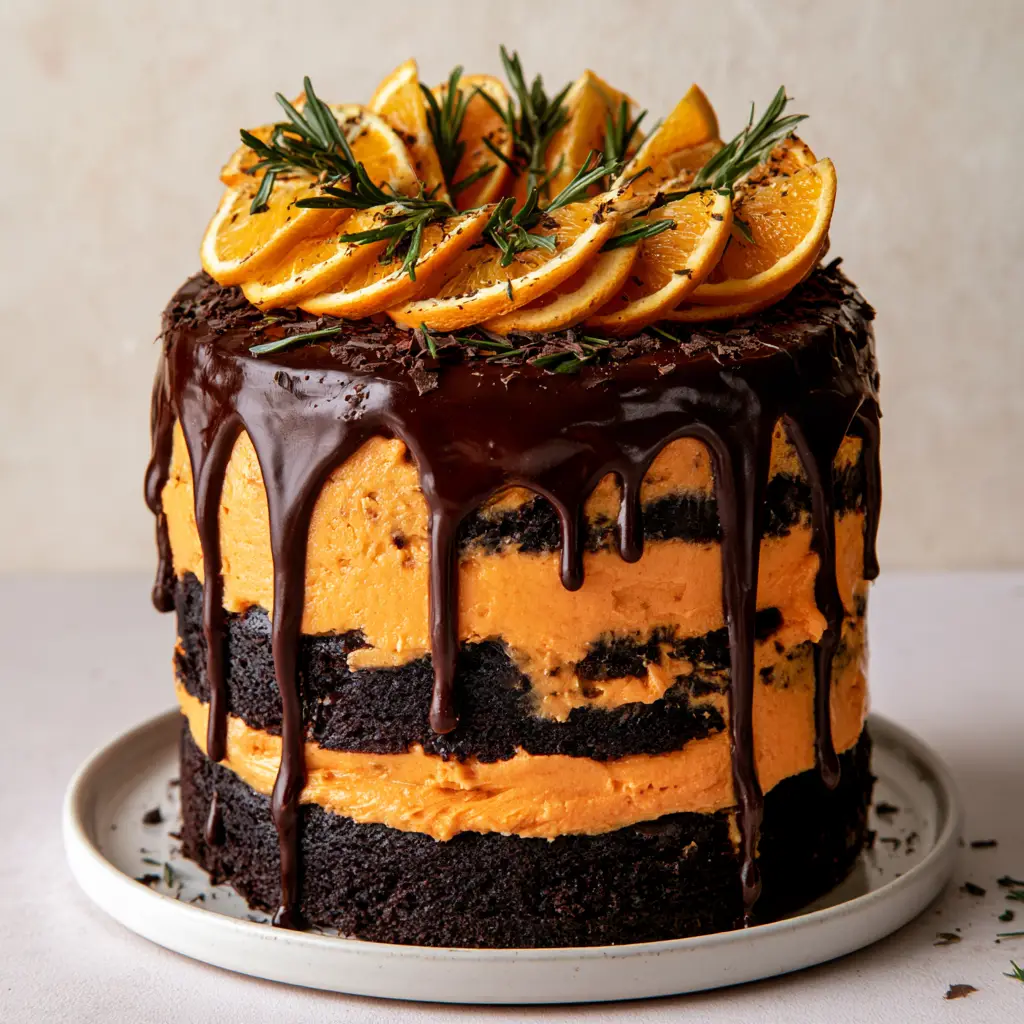
Why You Will Love This Chocolate Orange Masterpiece
- Perfect Texture Contrast: A moist, tight-crumb dark chocolate sponge meets a silky-smooth citrus buttercream.
- Visual “Wow” Factor: The heavy ganache drips and fresh orange half-slices create a professional aesthetic.
- Balanced Flavor: We use high-quality Dutch-process cocoa to ensure the chocolate is intense enough to stand up to the bright orange zest.
- Pinterest-Ready Decor: The addition of fresh rosemary sprigs and dark chocolate shavings adds an earthy, sophisticated touch.
The Secret Ingredients for a Moist Dark Chocolate Sponge
Creating a cake this tall requires a sturdy yet tender crumb. Here is what you will need for the base of your Chocolate Orange Layer Cake:
- All-Purpose Flour: 3 cups (375g). Provides the structural foundation for the three layers.
- Dutch-Process Cocoa Powder: 1 cup (100g). This is crucial for that dark, moist cocoa sponge appearance and deep flavor.
- Granulated Sugar: 2 ½ cups (500g). Sweetens and helps tenderize the crumb.
- Buttermilk: 1 ½ cups (360ml). The acidity reacts with the leavening agents for a massive lift.
- Fresh Orange Zest: 2 tablespoons. Infuses the chocolate batter with natural citrus oils.
- Boiling Water: 1 cup (240ml). Adding this at the end “blooms” the cocoa for maximum chocolate intensity.
- Vegetable Oil: ¾ cup (180ml). Ensures the cake stays moist for days, unlike all-butter cakes.
If you love the combination of fruit and chocolate, you might also enjoy my Matcha White Chocolate Cookies for a different flavor twist!
Crafting the Vibrant Orange Buttercream Filling
The star of the show is the vibrant orange-colored citrus buttercream frosting. To achieve that signature look from our blueprint, we use a combination of fresh juice and zest.
- Unsalted Butter: 2 cups (450g), softened. The base of a stable American buttercream.
- Powdered Sugar: 7 cups (875g). Sifted to ensure no lumps in your semi-naked frosting finish.
- Orange Juice: 3 tablespoons (45ml). Use freshly squeezed for the best aromatic profile.
- Orange Gel Food Coloring: A tiny drop (optional). This ensures the “vibrant” look seen in the Visual Recipe Blueprint.
- Fine Sea Salt: A pinch to balance the sugar.
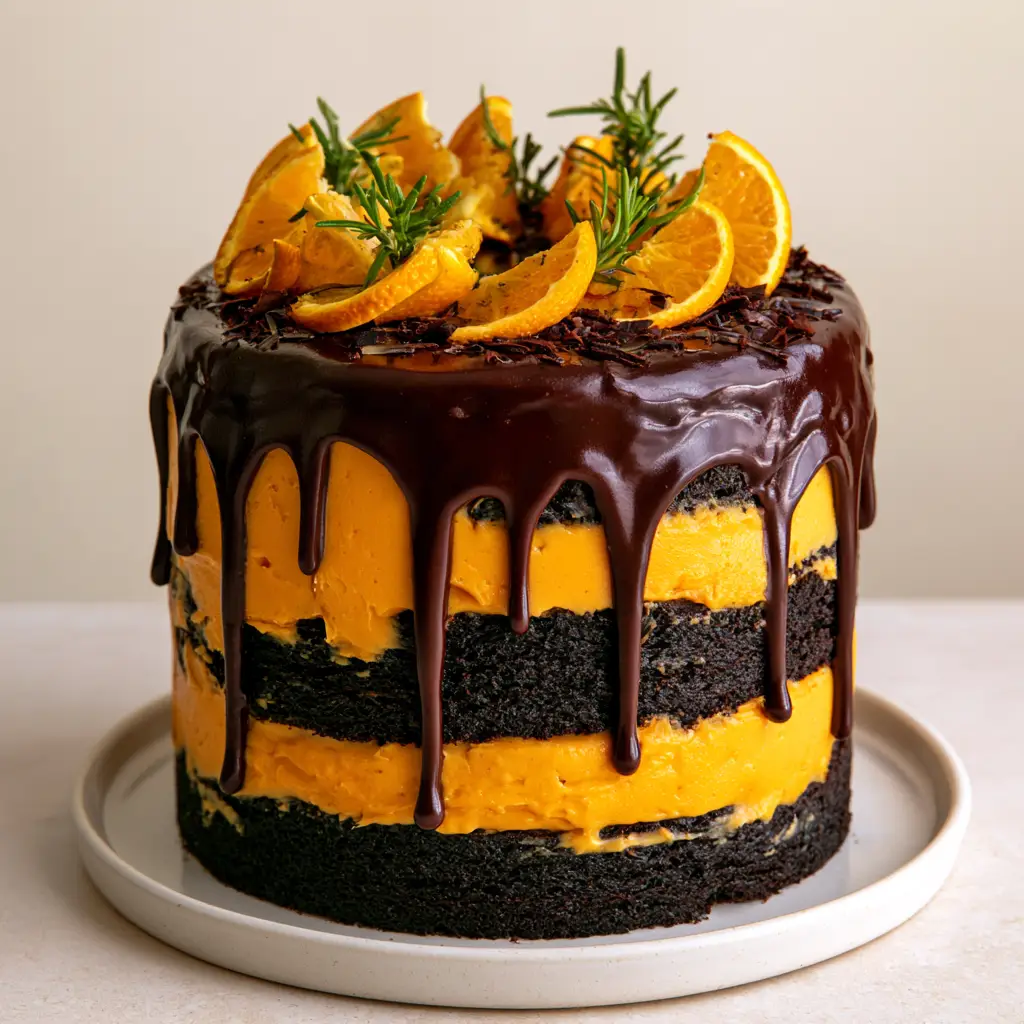
Step-by-Step Instructions for the Perfect Layer Cake
1. Prepare the Dark Chocolate Sponge Layers
Preheat your oven to 350°F (175°C). Grease and line three 8-inch (20cm) round cake pans with parchment paper. In a large bowl, whisk together your flour, cocoa powder, sugar, baking soda, and salt.
In a separate vessel, combine the buttermilk, oil, eggs, and orange zest. Gradually add the wet ingredients to the dry, mixing until just combined. Carefully pour in the boiling water and whisk by hand—the batter will be thin, but this is the secret to a moist chocolate cake.
Divide the batter equally and bake for 30-35 minutes. A toothpick should come out clean. Visual Cue: The tops should be springy and the edges slightly pulled away from the pan.
2. Whips the Vibrant Orange Frosting
Beat the softened butter for 5 full minutes until it is pale and fluffy. This creates the “thick, smooth” texture requested in our prompt. Slowly add the powdered sugar, orange juice, and zest. If you want that vibrant orange color, add your gel tint now.
Beat on high for another 2 minutes. The frosting should be stiff enough to hold its shape between the tall three-layer stacks but spreadable enough for the semi-naked look.
3. Assembling the Three-Layer Stack
Place the first chocolate layer on a simple white ceramic plate. Spread a thick layer of buttercream to the edges. Repeat with the second and third layers. Using an offset spatula, apply a very thin layer of frosting to the sides. Visual Cue: You want to see “hints of the chocolate cake beneath” to achieve the semi-naked orange frosting style.
4. The Glossy Dark Chocolate Ganache Drip
Heat ½ cup (120ml) of heavy cream until simmering, then pour over 4 oz (115g) of dark chocolate chips. Let it sit for 5 minutes, then stir until glossy. Allow it to cool slightly so it thickens. Pour it over the top of the chilled cake, using a spoon to encourage heavy drips down the sides.
This ganache technique is similar to the richness found in my Fudgy Brownie Cookies, providing a deep cocoa finish to every bite.
5. Final Styling & Garnishes
While the ganache is still slightly tacky, arrange fresh, thin half-slices of bright orange in a crown around the top edge. Nestled between the oranges, tuck in small sprigs of fresh green rosemary. Finally, sprinkle fine dark chocolate shavings over the center for a professional, textured finish.
Expert Tips for Bakery-Quality Results
- Temperature Control: Ensure your ganache is not too hot when pouring, or it will melt the orange buttercream and run off the plate.
- Chill the Cake: Refrigerate the cake for 20 minutes after the semi-naked frosting step. This sets the base for a cleaner ganache drip.
- Zest First: Always zest your oranges before juicing them! It’s nearly impossible to zest a squeezed orange.
- Use Dutch Cocoa: For the specific dark chocolate sponge look in the Midjourney Prompt, natural cocoa powder will be too light in color.
Storage and Make-Ahead Instructions
This Chocolate Orange Layer Cake can be made in stages. You can bake the sponge layers up to two days in advance; just wrap them tightly in plastic wrap and keep them at room temperature. The finished cake stays fresh in an airtight container in the fridge for up to 4 days.
If you need to freeze it, freeze the individual sponge layers for up to 3 months. We do not recommend freezing the fully decorated cake as the fresh orange slices and rosemary sprigs will wilt upon thawing.
What to Serve With This Cake
This cake is incredibly rich, so it pairs beautifully with a simple cup of black coffee or a cold glass of milk. For a full dessert spread, consider serving it alongside my Italian Lemon Custard Cake for a citrus-themed party, or even some Butterscotch Chocolate Chip Cookies (coming soon) for those who want a bit of crunch.
Frequently Asked Questions
Rosemary provides a beautiful piney aroma that complements orange, but you could use fresh mint or even sugared cranberries for a different seasonal look.
You can, but the cake will be lighter in color and slightly more acidic. For the dark, moist appearance in the photos, Dutch-process is highly recommended.
We use a combination of fresh orange zest and a tiny drop of orange gel food coloring to achieve that striking visual contrast against the dark chocolate.
Your ganache was likely too warm or your cake was not cold enough. Always chill the frosted cake for at least 20 minutes before applying the drip.
The Ultimate Chocolate Orange Layer Cake Recipe
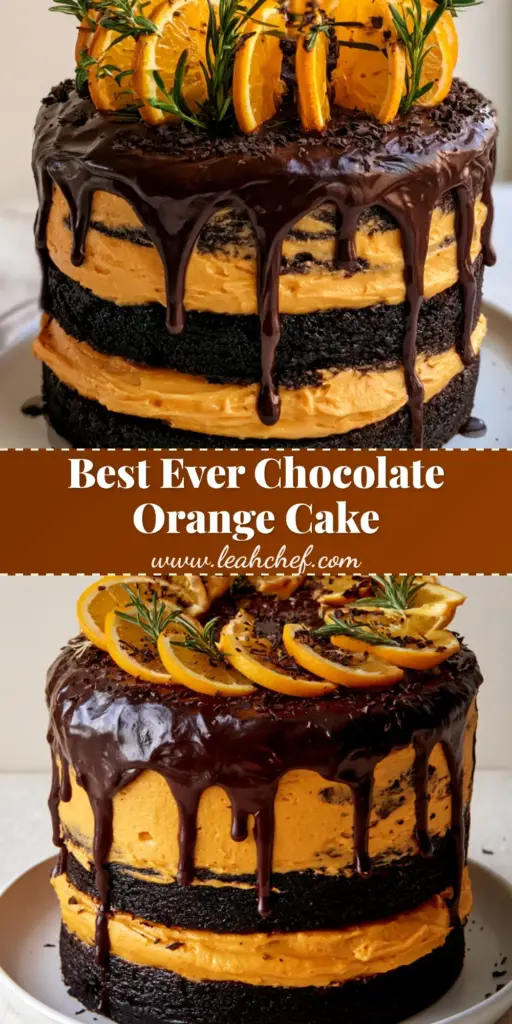
Chocolate Orange Layer Cake With Vibrant Orange Buttercream
Ingredients
Equipment
Method
- Whisk flour, cocoa, sugar, baking soda, and salt in a large bowl.
- Add buttermilk, oil, eggs, and zest. Stir in boiling water at the end.
- Divide into three 8-inch pans and bake at 350°F (175°C) for 30-35 minutes.
- Beat butter and sugar with orange juice until vibrant and smooth.
- Stack layers with thick frosting in between, then apply a semi-naked coat to the exterior.
- Pour warm ganache over the top, letting it drip down the sides.
- Garnish with fresh orange slices, rosemary sprigs, and chocolate shavings.
Notes
Ensure the cake is chilled before applying the ganache drip.
Share Your Baking Journey!
Did you recreate this Chocolate Orange Layer Cake? I would love to see your results! This recipe was designed to exploit the best of citrus and cocoa, and your feedback helps the community grow. Please save this recipe to your Pinterest Dessert Board so you never lose it!
Don’t forget to follow @leah_chef for more decadent baking inspiration. Leave a 5-star rating in the recipe card below and drop a photo of your cake in the comments! Happy baking!