Mediterranean Veggie Wraps are the ultimate solution for anyone craving a vibrant, crunchy, and deeply satisfying lunch that doesn’t leave you feeling sluggish. These wraps are designed to be a visual and culinary masterpiece, featuring dense internal layers of fresh produce nestled inside a soft flour tortilla. Whether you are looking for a quick desk lunch or a picnic-friendly meal, the combination of salty feta and smooth hummus makes this recipe an absolute standout.
If you follow me on Pinterest at @leah_chef, you know I am obsessed with “handheld” meals that don’t skimp on nutrition. These Mediterranean Veggie Wraps perfectly capture that fresh-from-the-garden aesthetic while providing enough protein and fiber to keep you full until dinner. The secret lies in the layering technique, ensuring every single bite contains the perfect ratio of creamy, crunchy, and salty components.
Why You Will Love These Fresh Mediterranean Veggie Wraps
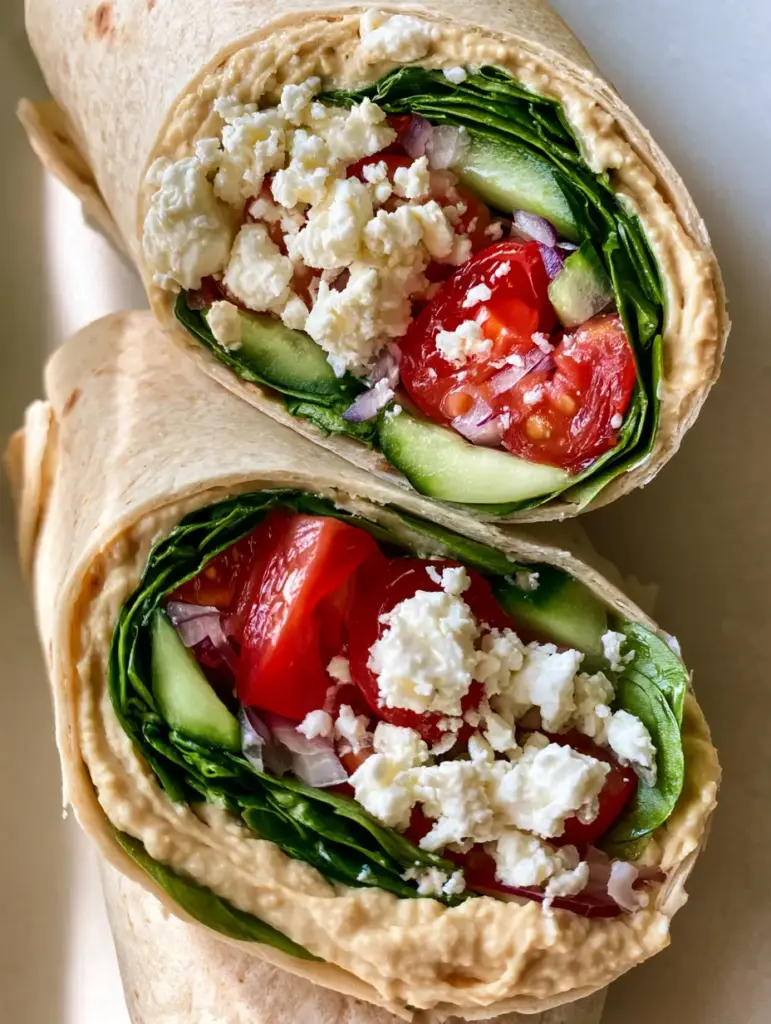
- Textural Contrast: You get the snap of Persian cucumbers against the velvety smoothness of pale beige hummus.
- Flavor Balance: The salty white feta cheese perfectly offsets the natural sweetness of halved cherry tomatoes.
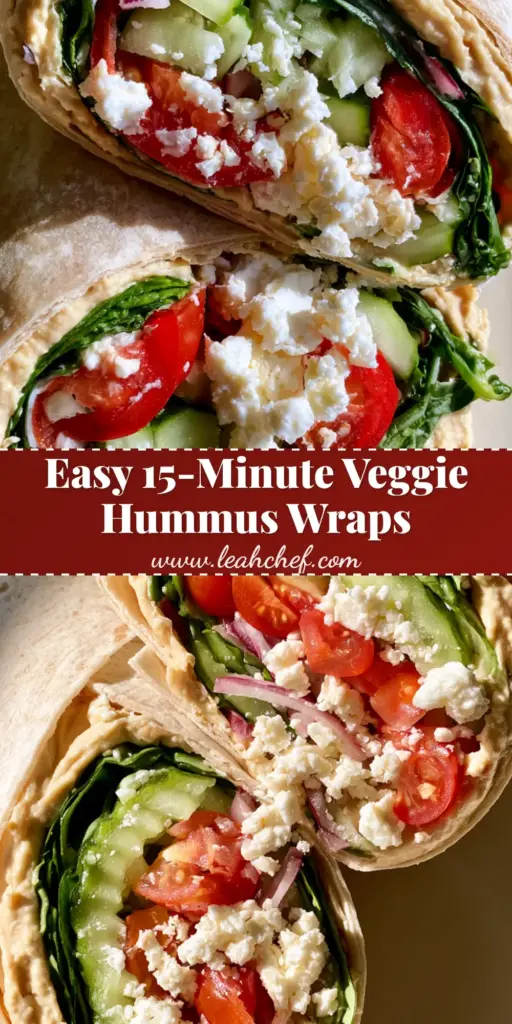
- Visual Appeal: When sliced diagonally, these wraps reveal a stunning rainbow of dense internal layers that look professional every time.
- Meal Prep Friendly: These hold up surprisingly well, making them a great alternative to a standard Black Bean Quinoa Salad for your weekly rotation.
The Anatomy of a Perfect Veggie Wrap: Ingredients
To achieve the specific look and taste of these Mediterranean Veggie Wraps, the quality of your ingredients is paramount. We aren’t just throwing things in a tortilla; we are building a flavor profile.
Soft Flour Tortillas: You want a large, 10-inch (25cm) flour tortilla. It needs to be soft and pliable to hold the dense fillings without tearing. If you have extra time, serving these alongside some authentic Native American Fry Bread can make for a very interesting fusion feast.
Creamy Beige Hummus: This acts as the “glue.” A thick, smooth spread provides the necessary moisture and a boost of plant-based protein. Use a classic chickpeas-and-tahini base for that authentic Mediterranean flair.
Fresh Baby Spinach: We use dark green baby spinach leaves because they lay flat, creating a clean boundary between the hummus and the heavier vegetables. They provide an earthy, mild base for the wrap.
Persian Cucumbers: Unlike standard cucumbers, Persian varieties have thinner skins and fewer seeds. This ensures your Mediterranean Veggie Wraps stay crisp and crunchy rather than watery.
Halved Red Cherry Tomatoes: These provide “pops” of acidity. By halving them, we ensure they stay tucked inside the wrap rather than rolling out when you take a bite.
Thin Red Onion Slivers: A little goes a long way. We slice these paper-thin to provide a sharp, pungent bite that cuts through the creaminess of the feta and hummus.
Crumbled White Feta Cheese: Look for a high-quality sheep’s milk feta stored in brine. It provides the essential salty, tangy finish that defines Mediterranean cuisine.
How to Make Mediterranean Veggie Wraps: Step-by-Step Instructions
Step 1: Pliability is Key
Start by warming your 10-inch (25cm) flour tortilla. You can do this for 10 seconds in the microwave or directly over a low gas flame for 5 seconds per side. A warm tortilla is less likely to crack when you begin the rolling process.
Step 2: The Hummus Foundation
Spread 1/4 cup (60ml) of creamy beige hummus across the center of the tortilla. Leave about a 1-inch (2.5cm) border around the edges. Use the back of a spoon to ensure an even, smooth layer. This hummus acts as a moisture barrier for the wrap.
Step 3: Layering the Greens
Place a generous handful of dark green baby spinach leaves directly onto the hummus. Press them down slightly so they adhere to the spread. This creates the first dense internal layer visible when the wrap is sliced.
Step 4: Building the Crunch
Arrange 4-5 slices of crisp Persian cucumbers and 1/4 cup (40g) of halved cherry tomatoes in a vertical line down the center. Add 3-4 thin slivers of red onion on top. This vertical alignment is crucial for the diagonal “Pinterest-perfect” slice later on.
Step 5: The Feta Finish
Sprinkle 2 tablespoons (28g) of crumbled white feta cheese over the vegetables. Ensure the crumbles are distributed evenly so you get that salty hit in every mouthful. If you love bold flavors, you might also enjoy the kick in our Jalapeno Popper Bites.
Step 6: The Tight Roll
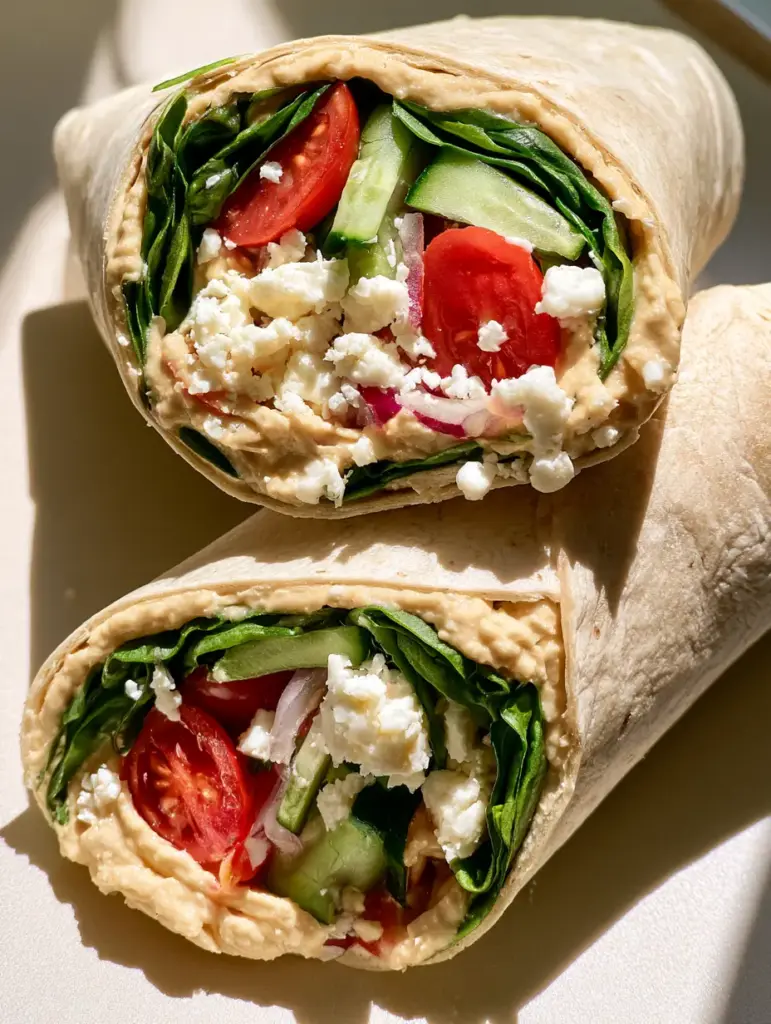
Fold the sides of the tortilla inward, then roll from the bottom up as tightly as possible. A tight roll ensures the dense internal layers stay intact. Once rolled, place the wrap seam-side down on your cutting board.
Step 7: The Diagonal Reveal
Using a sharp serrated knife, perform a single diagonal slice through the center of the wrap. This reveals the beautiful, stacked layers of green spinach, red tomatoes, and white feta against the beige hummus. Serving this with a side of Air Fryer Mahi Mahi makes for a complete, high-protein Mediterranean dinner.
Expert Tips for Success
- Dry Your Veggies: After washing the spinach and cucumbers, pat them completely dry. Excess water is the enemy of a firm wrap.
- Season Every Layer: A tiny pinch of sea salt and cracked black pepper over the tomatoes and cucumbers before rolling will significantly elevate the flavors.
- The Hummus Buffer: Never put the “wet” vegetables like tomatoes directly against the tortilla; always use the spinach or hummus as a barrier to prevent sogginess.
- Chill for Neatness: If you aren’t eating immediately, wrap the whole tortilla tightly in parchment paper and refrigerate for 20 minutes before slicing. This helps the ingredients “set.”
Storage and Meal Prep Advice
These Mediterranean Veggie Wraps are best enjoyed within 4-6 hours of assembly for maximum crunch. However, if you are meal prepping, you can store the assembled wraps (un-sliced) in an airtight container for up to 24 hours.
Do not freeze these wraps. The fresh cucumbers and tomatoes have high water content and will become mushy and unappealing once thawed. If you need a freezer-friendly meal, consider making a batch of Crockpot Marry Me Chicken instead.
What to Serve With Mediterranean Veggie Wraps
While these wraps are a meal on their own, they pair beautifully with light, Mediterranean-inspired sides. A cup of lentil soup or a side of Greek lemon potatoes works wonders. If you want something crunchy, pita chips with extra hummus are always a winner. For a sweet finish, a light fruit salad with mint leaves complements the fresh profile of the wrap perfectly.
Frequently Asked Questions
Yes, you can assemble them up to 24 hours in advance. Wrap them tightly in parchment paper or plastic wrap and store them in the fridge. For best results, slice them just before serving.
Corn tortillas are generally too small and brittle for this style of wrap. Flour tortillas or large gluten-free wraps are recommended for their pliability and size.
The secret is a very tight roll. Fold the sides in first, then roll from the bottom with firm pressure. A diagonal slice with a serrated knife reveals the layers clearly.
The key is to use the hummus and spinach as a moisture barrier. Always place the spinach directly on the hummus and keep wet ingredients like tomatoes in the very center, away from the tortilla.
A classic, thick, beige hummus works best. Avoid flavored hummuses that are too oily, as they can cause the tortilla to soften and tear.
The Best Mediterranean Veggie Wraps Recipe
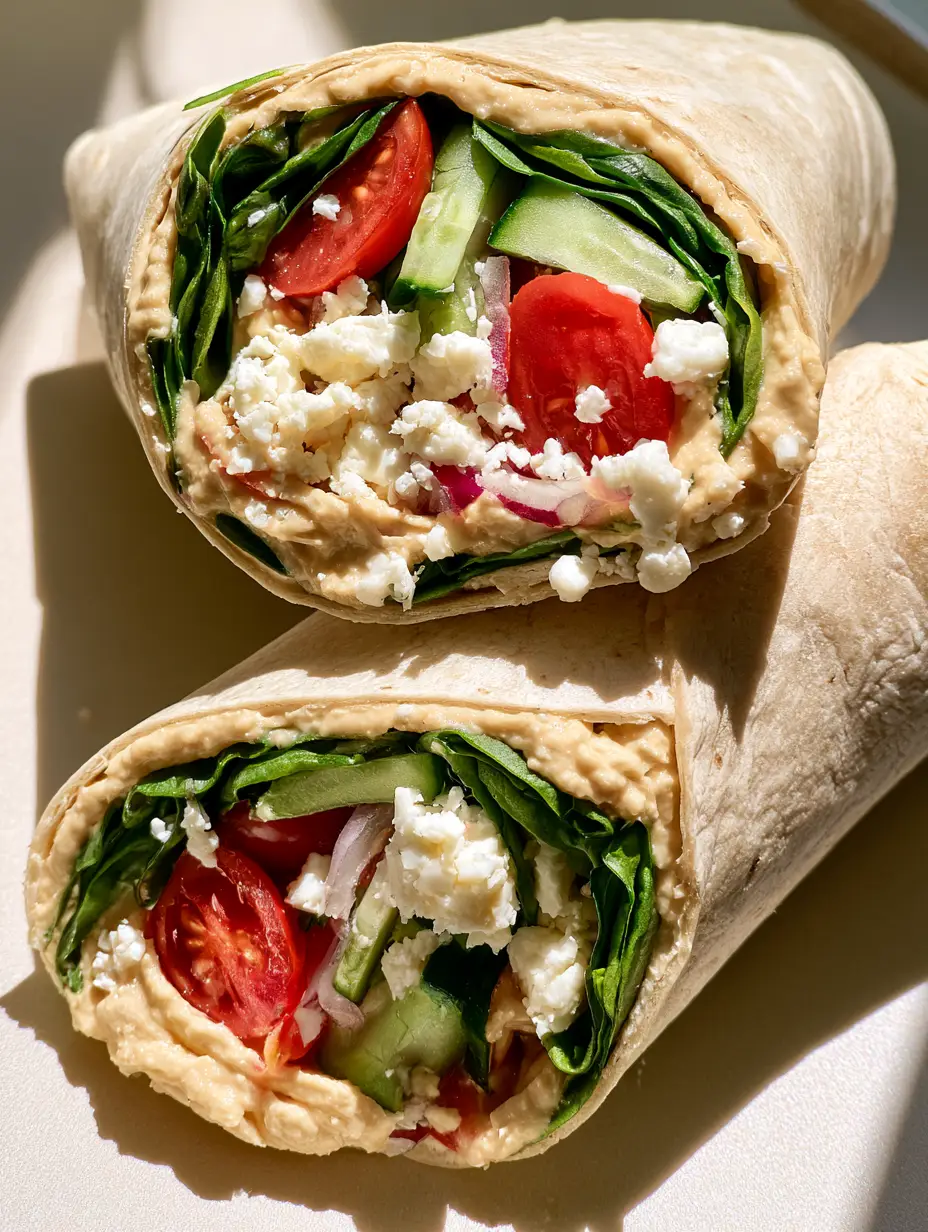
Mediterranean Veggie Wraps With Creamy Hummus and Feta
Ingredients
Equipment
Method
- Briefly warm the flour tortillas to make them pliable.
- Spread 1/4 cup (60ml) of hummus over each tortilla, leaving a small border.
- Place a layer of fresh baby spinach leaves over the hummus spread.
- Arrange sliced cucumbers, halved cherry tomatoes, and red onion slivers in the center.
- Sprinkle crumbled feta cheese evenly over the vegetable layer.
- Roll the tortillas tightly and slice diagonally to reveal the dense internal layers.
Notes
Warm the tortilla for exactly 10 seconds to prevent cracking during the roll.
Save, Share, and Rate!
Did these Mediterranean Veggie Wraps brighten up your lunch hour? If so, I would love for you to save this recipe to your “Healthy Lunch” board on Pinterest so you can find it later! Taking a photo of your creation? Tag @leah_chef or share it in the comments below—I love seeing your beautiful internal layers! Don’t forget to leave a 5-star rating in the recipe card above to help other home cooks find this fresh and easy meal.