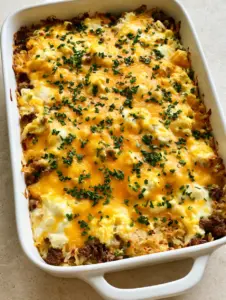
Walking Taco Casserole is the ultimate crowd-pleasing dinner that brings the nostalgic flavors of a concession stand right to your kitchen table. If you have ever enjoyed the crunch of a taco-in-a-bag at a local fair or football game, this cheesy ground beef bake is about to become your new favorite weeknight obsession. It captures the perfect harmony of seasoned beef, melted cheddar, and that iconic corn chip crunch.
This recipe is designed for busy families who need a high-impact meal with minimal cleanup. By layering savory ingredients in a single dish, we create a vertical flavor profile that keeps everyone coming back for seconds. The contrast between the hot, bubbly cheese and the crisp, cold toppings like shredded iceberg lettuce and fresh tomatoes makes every bite an experience.
Why You Will Crave This Easy Taco Bake
- Textural Perfection: You get the crunch of toasted Fritos paired with the gooey melt of sharp cheddar cheese.
- Customizable Canvas: Much like a cheesy hamburger potato casserole, this base is incredibly versatile for picky eaters.
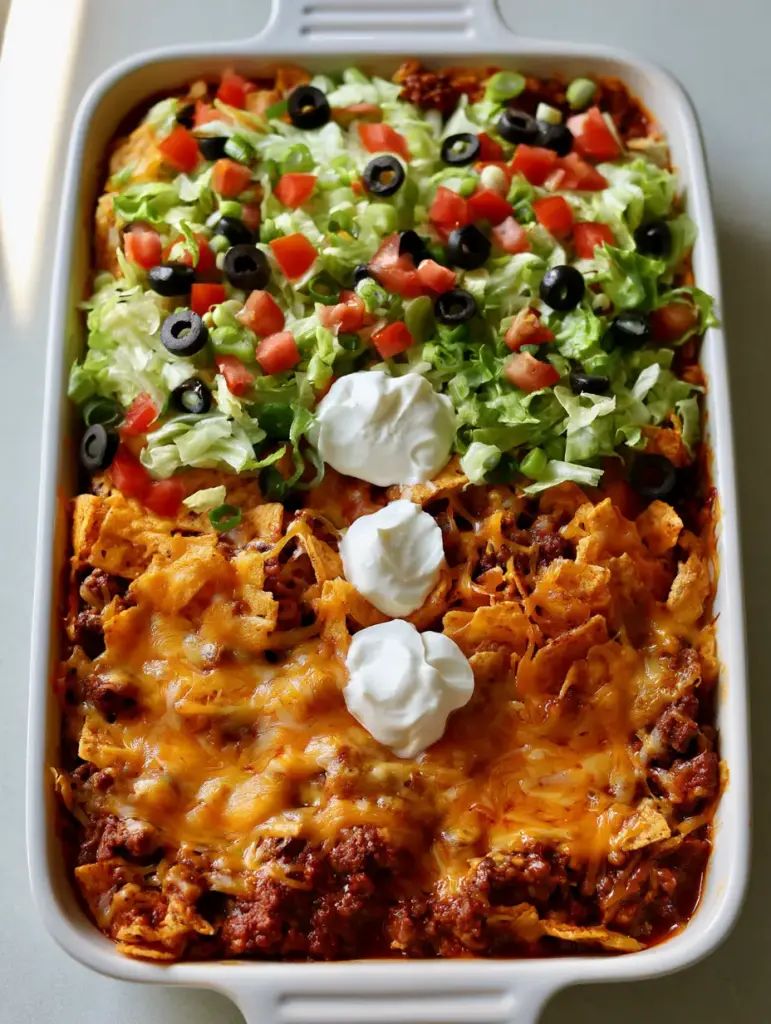
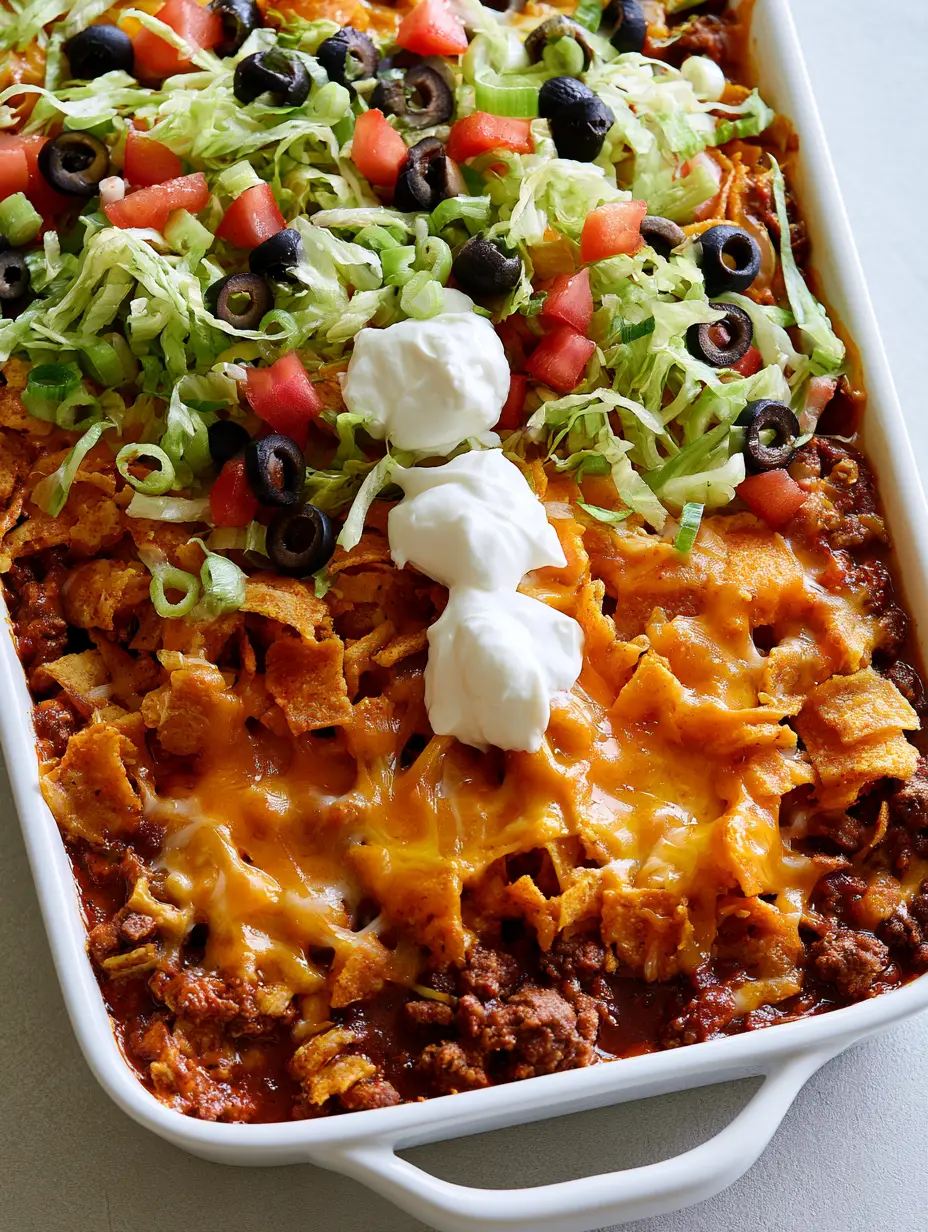
- Visual Showstopper: With bright red tomatoes, dark olives, and dollops of sour cream, it looks as good as it tastes.
- Quick Cleanup: One rectangular baking dish does all the heavy lifting, making this a 30-minute meal champion.
Essential Ingredients for the Ultimate Beef Casserole
Every ingredient in this Walking Taco Casserole serves a specific culinary purpose to ensure the final dish isn’t just “good,” but restaurant-quality.
Lean Ground Beef: We use 1.5 lbs (680g) of lean beef to provide a hearty, protein-packed foundation without excess grease. If you enjoy variety, you could also adapt this using the flavor profiles found in a kielbasa sausage potato casserole.
Thick Taco Seasoning Sauce: A blend of chili powder, cumin, and tomato paste creates a dark red sauce that coats the meat, ensuring every crumbles is infused with southwestern heat.
Sharp Cheddar Cheese: We use 2 cups (225g) of shredded orange and yellow cheddar. Melting these together creates that bubbly, golden crust that anchors the chips.
Fritos Corn Chips: These provide the essential corn-forward saltiness and structural integrity that regular tortilla chips often lack when baked.
Fresh Cold Toppings: Finely shredded iceberg lettuce, diced tomatoes, and sliced black olives provide the necessary acidic lift to cut through the richness of the beef and cheese.
How to Make Walking Taco Casserole Step-by-Step
1. Searing the Beef Foundation
Start by preheating your oven to 375°F (190°C). In a large skillet over medium-high heat, brown the 1.5 lbs (680g) of ground beef. Use a wooden spoon to break the meat into small, uniform crumbles. This ensures a consistent texture in every scoop of the Walking Taco Casserole.
Once the meat is browned and no longer pink, drain any excess fat. Stir in your taco seasoning and 3/4 cup (180ml) of water or beef broth. Simmer for 5-7 minutes until the liquid reduces into a thick, dark red glaze that clings to the beef crumbles. This step prevents a “soggy” casserole later.
2. Layering for Maximum Melt
Transfer the seasoned beef into a rectangular white ceramic baking dish, spreading it into an even layer. This creates the thermal base for the meal. Immediately cover the meat with a generous, thick layer of shredded cheddar cheese.
Place the dish in the oven for 5-10 minutes. You are looking for bubbly orange and yellow cheese that has just started to brown at the edges. This “glue” layer is what will hold your chips in place.
3. The Golden Frito Crunch
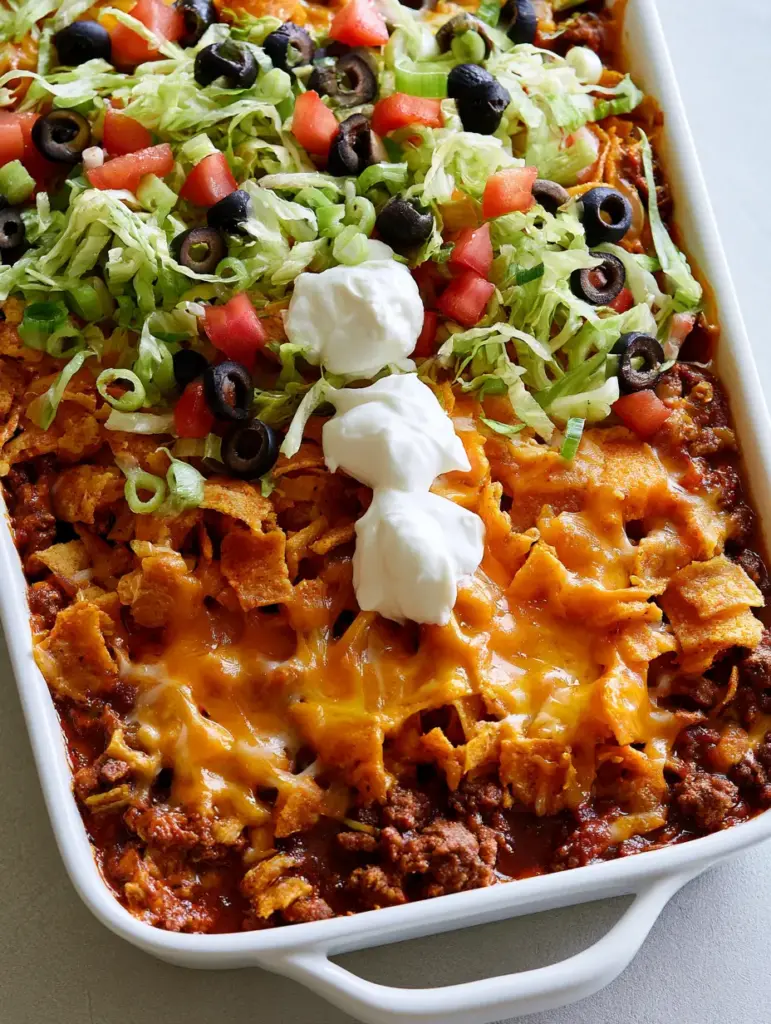
Remove the dish from the oven and scatter 4 cups (approx. 200g) of Fritos corn chips across the melted cheese. Return to the oven for a final 3-5 minutes. This toasts the chips slightly, enhancing their nutty corn aroma and ensuring they stay crunchy even after the fresh toppings are added.
4. The Fresh Garden Finish
Now comes the visual magic. Layer the finely shredded iceberg lettuce over the warm chips. Scatter the small cubes of bright red diced tomatoes, thin rings of black olives, and sliced green onions across the surface.
For the final signature touch, place three distinct, large dollops of thick white sour cream in a row down the center of the dish. This mimics the professional styling seen in high-end food photography and provides a cooling element to the spicy beef.
Expert Tips for Casserole Success
- Drain Thoroughly: Always drain the beef and the canned olives. Excess moisture is the enemy of a crunchy corn chip experience.
- Hand-Shred the Cheese: Pre-shredded cheese is coated in potato starch. Shredding your own cheddar ensures a superior melt and better “cheese pull.”
- Salt the Tomatoes: Briefly toss your diced tomatoes in a pinch of salt and drain them on a paper towel before adding them to the casserole to prevent “weeping” onto the chips.
- Level Up the Heat: If you love spice, consider adding a side of jalapeno popper bites to your dinner spread.
Storage, Reheating, and Freezing
In the Fridge: This Walking Taco Casserole is best enjoyed fresh. However, you can store leftovers in an airtight container for up to 3 days. Note that the lettuce will wilt and the chips will soften upon reheating.
Reheating: For best results, remove the cold lettuce and sour cream before reheating. Warm the beef and cheese base in the oven at 350°F (175°C) until hot, then add fresh chips and toppings.
Can You Freeze It? You can freeze the cooked beef base with the cheese. Do not freeze the chips or fresh vegetable toppings. Thaw the beef layer overnight in the fridge, bake to heat through, and then proceed with the chip and garnish steps.
What to Serve With This Taco Bake
While this is a complete meal on its own, it pairs beautifully with a side of Mexican street corn (Elote) or a simple black bean and cilantro salad. If you are hosting a larger gathering, consider serving this alongside a savory rice dish to stretch the servings further.
For a themed “casserole night,” this dish provides a great spicy contrast to a milder chicken hashbrown casserole, giving your guests plenty of flavor options.
Frequently Asked Questions
You can prepare the meat and cheese layer in advance. Do not add the chips or fresh vegetables until you are ready to serve, as they will lose their texture in the fridge.
Yes! Nacho Cheese Doritos are a popular substitution. However, Fritos are traditional for a ‘Walking Taco’ because they stay crunchy longer under the weight of the toppings.
The key is to toast the chips in the oven for just a few minutes before adding cold toppings. Also, ensure your beef mixture is simmered until the sauce is thick rather than watery.
For that authentic concession stand feel, use a sharp knife to create very fine ‘shreds’ of iceberg lettuce. This allows the lettuce to wilt slightly against the warm chips while maintaining its crunch.
The Ultimate Walking Taco Casserole Recipe
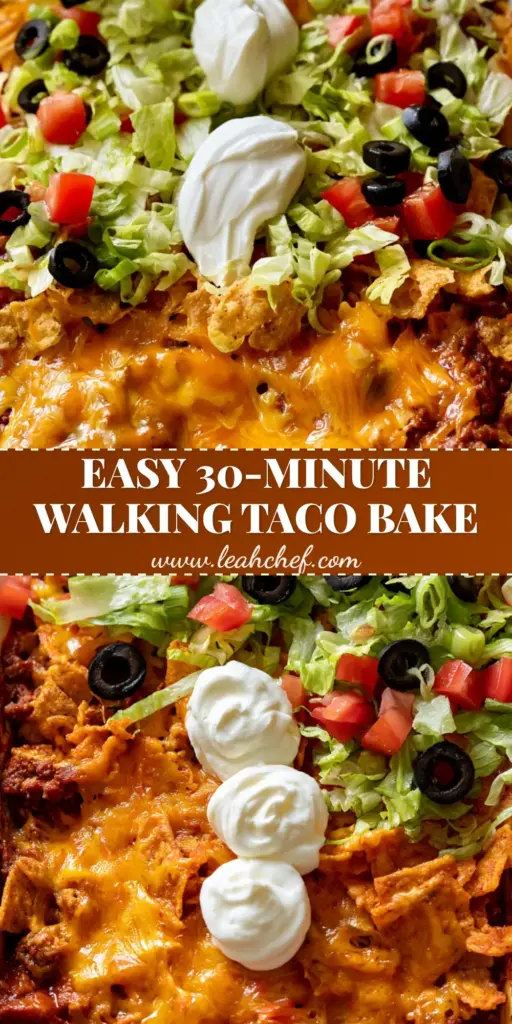
Walking Taco Casserole: The Easiest Cheesy Frito Bake
Ingredients
Equipment
Method
- In a large skillet, brown the ground beef over medium-high heat until no pink remains. Drain excess fat.
- Add taco seasoning and water. Simmer for 5-7 minutes until the sauce is thick and dark red, coating the beef crumbles perfectly.
- Spread the beef in a 9x13 baking dish. Top with a generous layer of shredded cheddar. Bake at 375°F (190°C) for 10 minutes until bubbly.
- Scatter Fritos over the melted cheese and bake for an additional 3-5 minutes until the chips are fragrant and golden-brown.
- Top the warm casserole with shredded lettuce, diced tomatoes, black olives, and green onions. Place three dollops of sour cream in a row down the center.
Notes
Use sharp cheddar for the best flavor contrast against the corn chips.
Save This Recipe to Pinterest!
If you loved this Walking Taco Casserole, don’t let the recipe disappear! Hover over any of the images in this post to Pin it to your favorite Dinner or Game Day boards. Following me, leah_chef, ensures you never miss a new cheesy bake or easy weeknight meal.
Did you make this? I want to see your results! Leave a 5-star rating in the recipe card above and upload a photo of your casserole in the comments below. Your feedback helps our community grow and helps other home cooks find success!